How to Install Custom AutoCAD Hatch Patterns (.PAT Files)
Learn how to install custom AutoCAD hatch patterns easily. Follow our guide for adding textures.
To install custom hatch patterns in AutoCAD, open the Options menu (type OPTIONS), navigate to the Files tab, and expand the Support File Search Path. Click Add, then Browse to select the local folder containing your custom .PAT files. Click Apply and OK to save changes.
What Are AutoCAD Hatch Patterns?
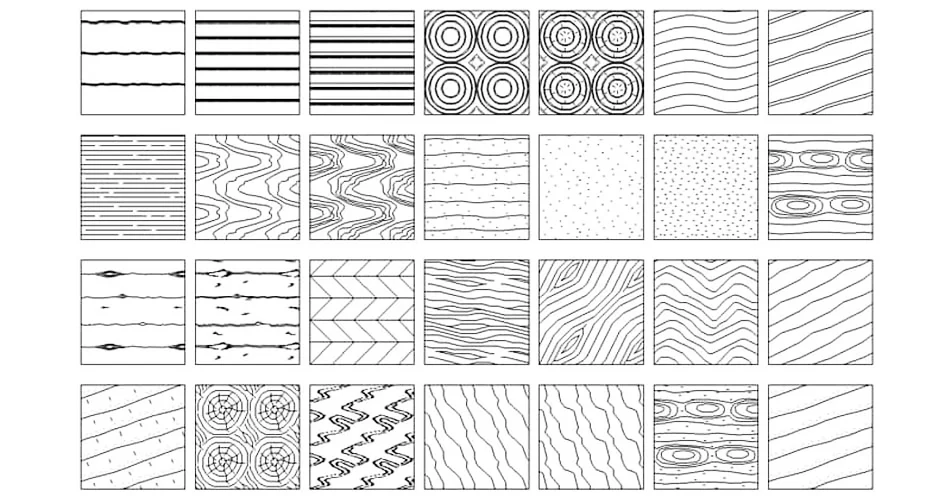
AutoCAD hatch patterns (saved under the .PAT file extension) are standardized vector texture files used to fill enclosed boundaries within technical, engineering, and architectural drawings. These geometric configurations mathematically represent specific structural materials—such as brick, concrete, stone, glass, or wood—ensuring professional standard compliance and clarity in blueprints and architectural plans.
Step-by-Step: How to Install AutoCAD Hatch Patterns
Follow this precise technical directory workflow to inject custom hatch pattern folders into your AutoCAD environment without overwriting default installation libraries.
1. Launch AutoCAD and Open Options
- Open your current architectural or engineering drawing in AutoCAD.
- Type
OPTIONSin the command line and pressEnter(or execute via theCtrl + 1shortcut interface) to launch the primary configuration window.
2. Map the Support File Search Path
- In the Options dialog window, click on the Files tab.
- Locate the first root folder category labeled Support File Search Path and click the plus (
+) icon to expand its directory tree. - Click the Add button located on the right-hand options panel. This creates a new blank path string entry in the tree.
- Click Browse, navigate to the specific local drive or network directory where your custom
.PATfiles are stored, and click OK.
3. Apply System Changes
- Click Apply in the bottom-right corner of the window to register the new path injection into the CAD system registry.
- Click OK to exit the Options dialog box securely.
4. Index and Verify the New Textures
- Type
HATCHin the command line interface and pressEnter. - Navigate directly to the Hatch Creation contextual tab that appears automatically on the top ribbon.
- Expand the pattern selection dropdown window. Your newly mapped custom textures are now indexed and available for deployment.
How to Apply and Adjust Hatch Patterns in Your Workflow
Once your directory is linked, execute and adjust your geometric patterns efficiently to ensure accurate real-world drawing scales:
- Isolate Boundaries: Execute the
HATCHcommand and pick an internal point within a completely sealed boundary or select explicit objects. - Select Asset: Choose your custom architectural pattern from the indexed visual library.
- Calculate Hatch Scale: Adjust the pattern scale property inside the ribbon. Custom external patterns frequently require scale multipliers (e.g., 10x, 0.1x) relative to your project units (inches, feet, or millimeters) to display correctly.
- Configure Layer Transparency: Set explicit transparency properties on the hatch layer to prevent solid textures from visually overpowering the primary technical linework.